
For this first article in the data platform series, we’ll start by installing some tools, starting the Kubernetes cluster, and launching the platform’s infrastructure components.
Prerequisites
As a reminder, this data platform works best on a Linux-based OS. All tools can work on Windows (with WSL) or Mac, but this requires some additional configuration to access the various web interfaces and APIs.
Additionally, Docker must be installed, as well as the jq command (using sudo apt install jq or sudo dnf install jq).
Tool Overview and Installation
Everything is detailed in the git repository from which we’ll get the sources. I’ll add some additional details here.
Kind
Kind (originally "Kubernetes IN Docker") is software for deploying a Kubernetes cluster using containers. Each node is represented by a container, with a virtual network dedicated to the cluster. Kind was initially developed to test Kubernetes project developments itself but can now be used to test your own applications in a local Kubernetes environment.
There are two ways to install it. Using go, simply run the following command:
go install sigs.k8s.io/kind@latestOr you can download the binary and place it in a folder included in your $PATH.
ARCH=$(uname -m | sed 's/x86_64/amd64/;s/aarch64/arm64/')
curl -Lo ./kind https://kind.sigs.k8s.io/dl/latest/kind-linux-${ARCH}
chmod +x ./kind
mv ./kind $HOME/.local/bin/kind
The demo cluster consists of one control-plane node and two worker nodes, one of which will be used to receive external connections through the MetalLB load balancer.
 1
 2
 3
 4
 5
 6
 7
 8
 9
10
11
12
13
14
kind: Cluster
apiVersion: kind.x-k8s.io/v1alpha4
name: data-platform
networking:
  ipFamily: ipv4
nodes:
  - role: control-plane
    image: kindest/node:v1.33.1
  - role: worker
    image: kindest/node:v1.33.1
    labels:
      net: metallb-gateway
  - role: worker
    image: kindest/node:v1.33.1
Kubectl
Kubectl is the command-line tool used to interact with Kubernetes clusters. It allows you to deploy applications, manage cluster resources, and obtain information about the state of resources.
To install it, you need to download the binary. There are also apt and rpm repositories available.
ARCH=$(uname -m | sed 's/x86_64/amd64/;s/aarch64/arm64/')
VERSION=$(curl -L -s https://dl.k8s.io/release/stable.txt)
curl -LO "https://dl.k8s.io/release/${VERSION}/bin/linux/${ARCH}/kubectl"
chmod +x ./kubectl
mv ./kubectl $HOME/.local/bin/kubectl
Helm
Deploying applications in a Kubernetes cluster can be tedious. You need to define the various necessary components (pods, services, pv …), their types (Deployments/DaemonSets, ClusterIP/LoadBalancer, …), and network access (Ingress, HTTPRoute, …). This is where Helm comes in, a package manager for Kubernetes that simplifies the deployment and management of applications. Application developers, or the community, can create "Helm charts", which are equivalent to APT/RPM packages for Kubernetes. The difference is that all Helm application configurations must (and can) be defined before installation, via "values".
A Helm repository is made available, and each repository can contain charts for multiple applications. When you install an application in the cluster, it becomes a "release".
Helm stores the application configurations in the Kubernetes cluster itself, using Kubernetes objects such as ConfigMaps and Secrets.
To install it, several methods are available. Here are two of them:
# For golang developers
go install helm.sh/helm/v3/cmd/helm@latest

# Or download a compiled binary
ARCH=$(uname -m | sed 's/x86_64/amd64/;s/aarch64/arm64/')
VERSION=$(curl -s https://api.github.com/repos/helm/helm/releases/latest | jq -r '.tag_name')
curl -L "https://get.helm.sh/helm-${VERSION}-linux-${ARCH}.tar.gz" | tar -xz --strip-components=1 linux-${ARCH}/helm
mv ./helm $HOME/.local/bin/helm
Helmfile
A platform typically consists of multiple applications, and therefore multiple Helm releases. To simplify and centralize the values and configurations, we can use Helmfile. This tool allows you to define all Helm releases in a YAML file and manage them consistently.
You can choose between a single helmfile.yaml per platform or split it with one file per application. By diving into the helmfile configuration details, you could even manage multiple environments. Like Helm, you can use Golang templates, which further multiplies the possibilities.
To install it, once again refer to the documentation page, and here are two possibilities:
# For golang developers
go install github.com/helmfile/helmfile@latest

# Or download a binary
ARCH=$(uname -m | sed 's/x86_64/amd64/;s/aarch64/arm64/')
VERSION=$(curl -s https://api.github.com/repos/helmfile/helmfile/releases/latest | jq -r '.tag_name')
VERSION=${VERSION#v}
curl -L "https://github.com/helmfile/helmfile/releases/download/v${VERSION}/helmfile_${VERSION}_linux_${ARCH}.tar.gz" | tar -xz -C $HOME/.local/bin helmfile| 👇 After installation, you need to download all the helm plugins that helmfile requires. |
helmfile initPlatform Installation
First, clone the git repository and navigate to the 01-infra folder.
git clone https://github.com/xreveillon/data-platform-demo.git
cd data-platform-demo/01-infra
Starting the Kind Cluster
kind create cluster --config kind-config.yamlYou can check if the cluster is up and running with the kubectl get nodes command.
Customizing the Platform
While the cluster is starting, let’s customize the platform a bit. In the .env file, I suggest defining some parameters via environment variables.
The most important is the primary domain name, which will be used to access the various applications. Each application with a web interface or SSL certificate will have its own subdomain, for example, minio.GLOBAL_DOMAIN for Minio, or airbyte.GLOBAL_DOMAIN for Airbyte.
 1
 2
 3
 4
 5
 6
 7
 8
 9
10
11
12
13
14
15
# Global domain, under which each application will take a subdomain
# Example, minio would be accessible under minio.GLOBAL_DOMAIN,
# i.e. minio.data-platform.xreveillon.eu
GLOBAL_DOMAIN=data-platform.xreveillon.eu

MINIO_ACCESS_KEY=adminuser
MINIO_SECRET_KEY=adminpassword

AIRBYTE_S3_ACCESS_KEY=airbyte
AIRBYTE_S3_SECRET_KEY=airbytepassword

REGISTRY_USER=registry
REGISTRY_PASSWORD=registrypassword
REGISTRY_S3_ACCESS_KEY=registry
REGISTRY_S3_SECRET_KEY=registrypassword
Once modified, let’s load the configuration into memory.
set -a ; . .env ; set +aRetrieving Network Information
Now that the cluster is up, we’ll retrieve some network information, which will be used to configure the network for MetalLB (see below in the MetalLB section).
# Extract the IPv4 CIDR of the kind cluster network
export KIND_IPV4_CIDR=$(docker network inspect kind | jq -r '.[0].IPAM.Config[] | select(.Subnet | test(":") | not) | .Subnet')

# Calculate the IP address range for MetalLB
export METALLB_IP_RANGE=$(./last10range.sh $KIND_IPV4_CIDR)
Installing the Infrastructure
We start by installing the resources for the Gateway API, and finally, we install the entire infrastructure with a single command.
# Install the Gateway API CRDs from the experimental branch.
kubectl apply -f https://github.com/kubernetes-sigs/gateway-api/releases/download/v1.3.0/experimental-install.yaml

# Install the applications
helmfile apply
This will take several minutes, as it fetches the Docker images and starts the applications. If a timeout occurs, simply re-run the helmfile apply command.
In the meantime, let’s read about what we’re deploying 👇
Infrastructure Components
MetalLB
helmfile.yaml
24
25
26
27
28
29
30
31
32
33
34
35
36
37
releases:
  - name: metallb
    namespace: metallb-system
    createNamespace: true
    chart: metallb/metallb
    wait: true
  - name: kubedeploy-metallb
    namespace: metallb-system
    chart: sysbee/kubedeploy
    disableValidationOnInstall: true
    needs:
      - metallb-system/metallb
    values:
      - values/metallb-extraobjects.yaml.gotmpl
As the name suggests, MetalLB is a load balancer for Kubernetes. There are 4 types of services to manage networking in Kubernetes. The LoadBalancer type service is the only one that allows network connections from outside the cluster to a "usual" port (80, 443, 5432, …), through an external load balancer. In a cloud environment, the external LoadBalancer is automatically provisioned, configured, and managed by the cloud provider (AWS ELB, GCP LB, Azure LB, …). In an on-premise or local environment, there is no native load balancer. MetalLB fills this gap by providing a software implementation of a load balancer, for example, by allocating a virtual IP address on one of the nodes.

The IP addresses shown are specific to my configuration. I chose the Layer 2.
Cert-manager
helmfile.yaml
38
39
40
41
42
43
44
45
46
47
48
49
50
51
52
53
54
55
56
57
58
59
60
61
  - name: cert-manager
    namespace: cert-manager
    createNamespace: true
    chart: jetstack/cert-manager
    wait: true
    disableValidationOnInstall: true
    values:
      - crds:
          enabled: true
        prometheus:
          enabled: false
        config:
          apiVersion: controller.config.cert-manager.io/v1alpha1
          kind: ControllerConfiguration
          enableGatewayAPI: true
  - name: cert-manager-extra-objects
    namespace: cert-manager
    chart: sysbee/kubedeploy
    disableValidationOnInstall: true
    wait: true
    needs:
      - cert-manager/cert-manager
    values:
      - values/cert-manager-extraObjects.yaml.gotmpl
Cert-manager is a SSL certificate manager for Kubernetes. It automates the management and renewal of TLS certificates, integrating with certificate authorities like Let’s Encrypt or even private ones. Cert-manager monitors certificate resources in the cluster and ensures that the certificates are valid and up-to-date.
When I evolve the platform to a "production-ready" mode, Cert-manager will be very useful to encrypt all internal communications within the cluster. Right now, Cert-Manager is used to secure your access to the web interfaces.
| Explaining the why and how of a PKI (public Key Infrastructure) is part of my future blog articles. |
| If you are tired of seeing certificate warnings in your browser when visiting the platform pages, you can install the root certificate of the PKI in your trusted authorities. However, I STRONGLY DISCOURAGE this. |
Trust-manager
helmfile.yaml
62
63
64
65
66
67
68
69
70
71
72
73
74
75
76
77
78
79
80
81
82
  - name: trust-manager
    namespace: cert-manager
    chart: jetstack/trust-manager
    disableValidationOnInstall: true
    wait: true
    needs:
      - cert-manager/cert-manager-extra-objects
    values:
      - crds:
          enabled: true
        secretTargets:
          enabled: false
  - name: trust-manager-extra-objects
    namespace: cert-manager
    chart: sysbee/kubedeploy
    disableValidationOnInstall: true
    wait: true
    needs:
      - cert-manager/trust-manager
    values:
      - values/trust-manager-extraObjects.yaml.gotmpl
When Cert-manager manages the PKI by itself, Trust-manager is very useful to distribute the public certificate, so that different applications can trust the certificates issued by Cert-manager.
Traefik
helmfile.yaml
83
84
85
86
87
88
89
90
91
  - name: traefik
    namespace: traefik
    createNamespace: true
    chart: traefik/traefik
    disableValidationOnInstall: true
    values:
      - values/traefik-values.yaml.gotmpl
    needs:
      - cert-manager/cert-manager
When web applications are hosted inside a Kubernetes cluster, they need to be accessible from the outside. As already seen with MetalLb, LoadBalancer type services allow this, regardless of the communication protocol used. But this provides direct access to the applications, without managing domain names, SSL certificates, or security policies.
For HTTP(S) protocol, the best method at the moment is to use Ingress with an Ingress Controller (to simplify, it’s Kubernetes' reverse-proxy). In my platform, I use Traefik as the Ingress Controller.
Traefik is also compatible with the Gateway API, which will complement the Ingress for applications requiring more complex configurations.
Minio
helmfile.yaml
103
104
105
106
107
108
109
110
111
112
  - name: minio
    namespace: minio
    createNamespace: true
    chart: minio/minio
    disableValidationOnInstall: true
    wait: true
    needs:
      - minio/minio-extra-objects-pre
    values:
      - values/minio-values.yaml.gotmpl
Minio is an object storage solution compatible with Amazon’s S3 API. It is designed to be highly available, scalable, and performant, and can be deployed on-premise or in the cloud. Minio is often used to store unstructured data such as images, videos, backups, and log files.
Object storage has become predominant in the data world, with solutions like Lakehouses.
Lakehouses rely on the principle of separating storage and computation. Storage is provided by a distributed file system or object storage, accessible by multiple clients and query engines concurrently.
Docker Image Registry
helmfile.yaml
121
122
123
124
125
126
127
128
  - name: registry
    namespace: registry
    createNamespace: true
    chart: twuni/docker-registry
    needs:
      - minio/minio
    values:
      - values/docker-registry-values.yaml.gotmpl
Among the installed tools, there is at least Dagster that will require creating its own Docker images. And to include the public certificate of the root authority of the private PKI, it may also be necessary to create images.
PostgreSQL Instance with Source Data
helmfile.yaml
113
114
115
116
117
118
119
120
  - name: pg-source
    namespace: postgresql
    createNamespace: true
    chart: bitnami/postgresql
    needs:
      - traefik/traefik
    values:
      - values/pg-source-values.yaml.gotmpl
Source database structure

The source database contains 5 tables, 3 of which can serve as dimensions, and 2 as facts, requiring some transformations. Credits to drawdb.app and lilith for the ER diagram software
Finalization
First, let’s check that everything is started correctly.
kubectl get daemonsets.apps,deployments.apps -A

## Expected result
NAMESPACE        NAME                             DESIRED   CURRENT   READY   UP-TO-DATE   AVAILABLE   NODE SELECTOR            AGE
kube-system      daemonset.apps/kindnet           3         3         3       3            3           kubernetes.io/os=linux   6h49m
kube-system      daemonset.apps/kube-proxy        3         3         3       3            3           kubernetes.io/os=linux   6h49m
metallb-system   daemonset.apps/metallb-speaker   3         3         3       3            3           kubernetes.io/os=linux   6h46m
traefik          daemonset.apps/traefik           2         2         2       2            2           <none>                   6h45m

NAMESPACE            NAME                                       READY   UP-TO-DATE   AVAILABLE   AGE
cert-manager         deployment.apps/cert-manager               1/1     1            1           6h46m
cert-manager         deployment.apps/cert-manager-cainjector    1/1     1            1           6h46m
cert-manager         deployment.apps/cert-manager-webhook       1/1     1            1           6h46m
cert-manager         deployment.apps/trust-manager              1/1     1            1           6h45m
kube-system          deployment.apps/coredns                    2/2     2            2           6h49m
local-path-storage   deployment.apps/local-path-provisioner     1/1     1            1           6h49m
metallb-system       deployment.apps/metallb-controller         1/1     1            1           6h46m
minio                deployment.apps/minio                      1/1     1            1           6h45m
registry             deployment.apps/registry-docker-registry   1/1     1            1           6h44m
Then, if you want to access our services via domain names rather than IP addresses, you need to add an entry in the /etc/hosts file of your machine, with the IP address of the LoadBalancer node created by MetalLB.
# For Traefik and all web interfaces
kubectl get services -n traefik -o wide

# For PostgreSQL
kubectl get services -n postgresql -o wide pg-source-postgresql
You need to note the IP address. Theoretically, it should always remain the same, so we can add it to the /etc/hosts file of the host machine.
In the following line, replace data-platform.xreveillon.eu with the GLOBAL_DOMAIN value you set in the .env file.
/etc/hosts<EXTERNAL-IP> traefik.data-platform.xreveillon.eu airbyte.data-platform.xreveillon.eu minio-console.data-platform.xreveillon.eu s3.data-platform.xreveillon.eu dagster.data-platform.xreveillon.eu registry.data-platform.xreveillon.eu pg-source.data-platform.xreveillon.euOnce done, we can check if everything works by navigating to different URLs to see the various web interfaces.
https://traefik.data-platform.xreveillon.eu/dashboard/
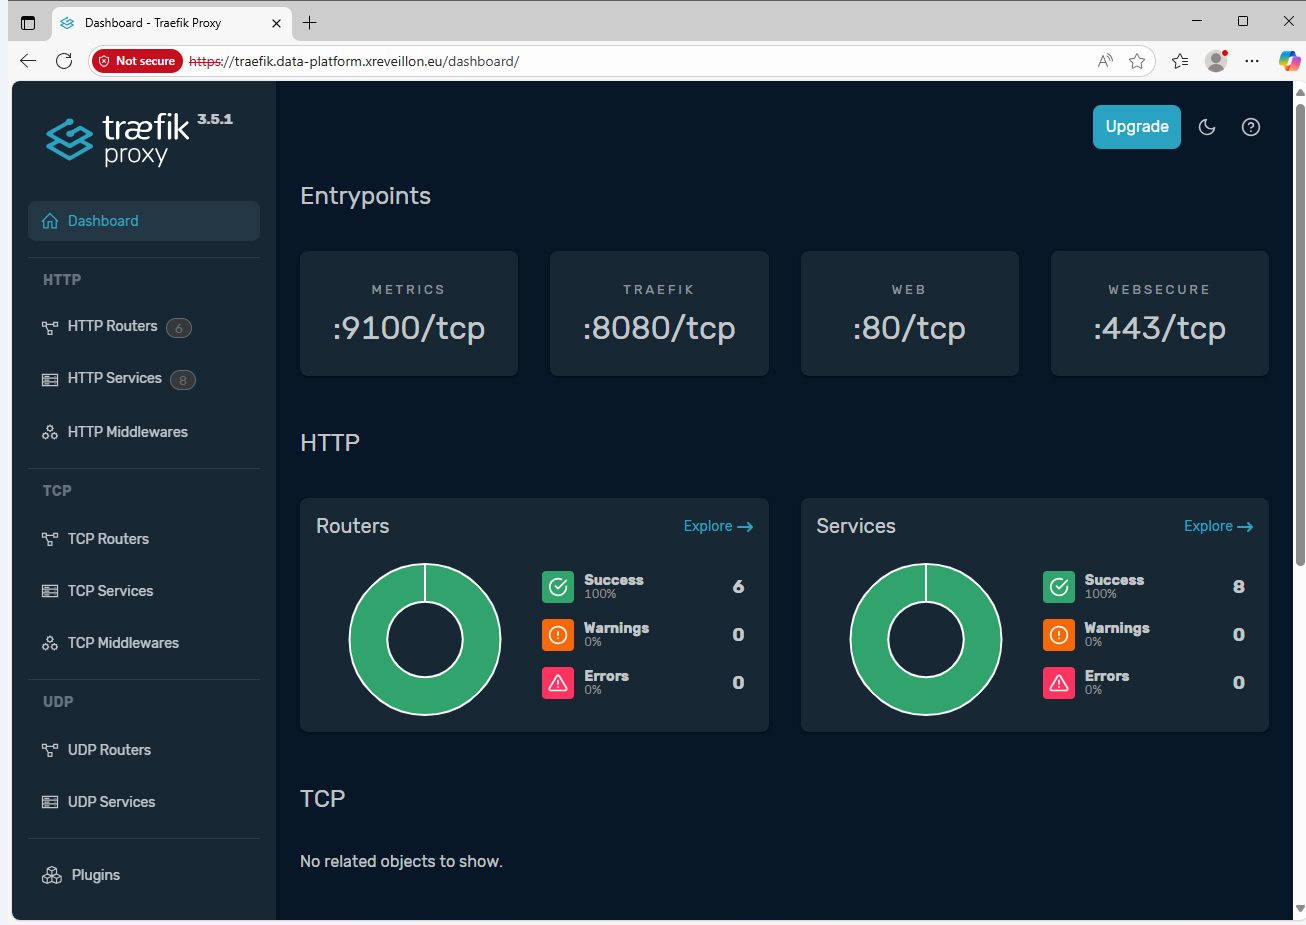
The Traefik dashboard shows the configured routes, services, middlewares, TLS certificates, and more.
https://minio-console.data-platform.xreveillon.eu/
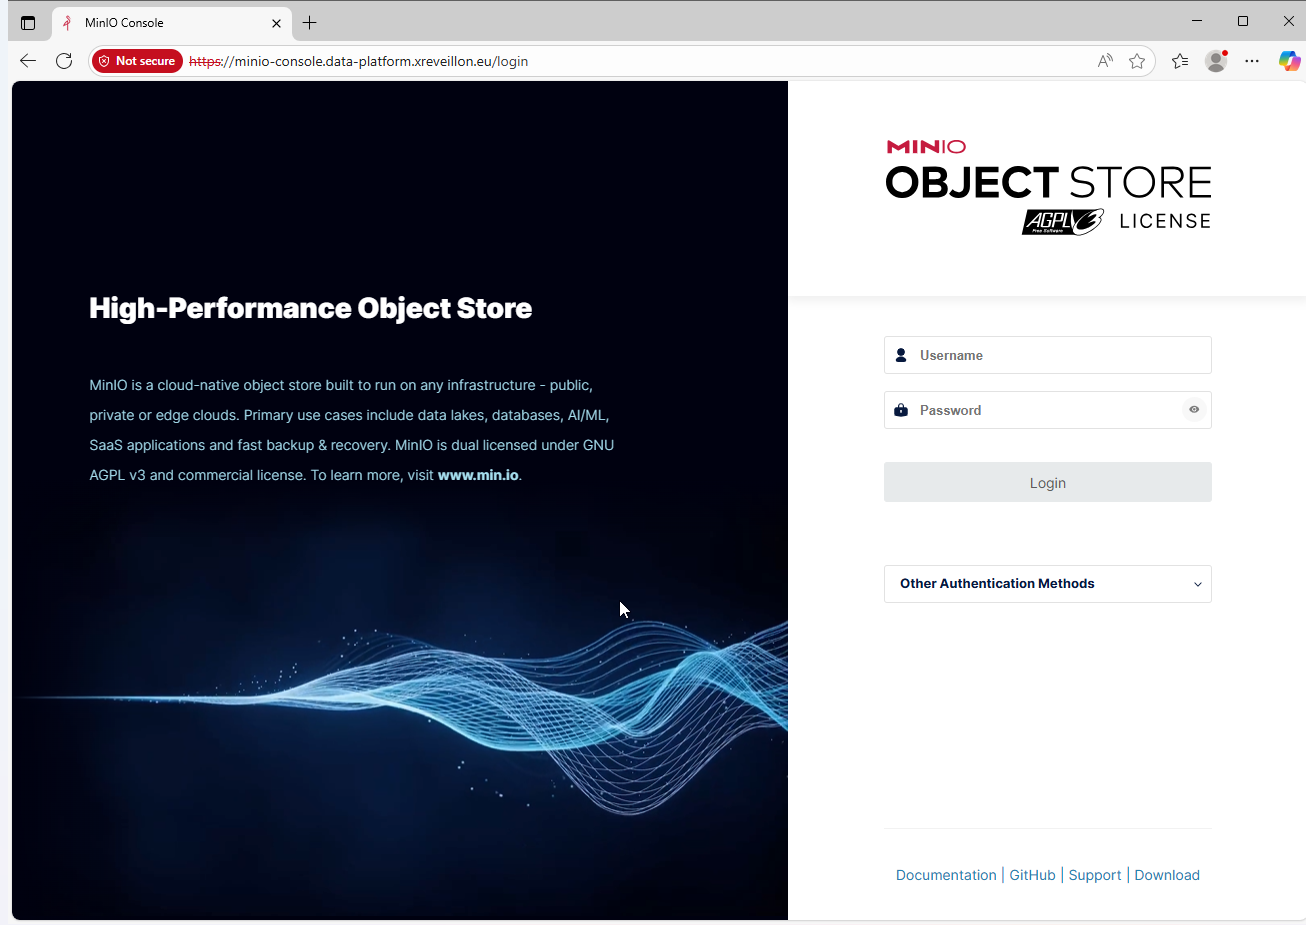
The Minio console now only allows browsing the content of buckets. Previously, it was also possible to manage configuration and security.